Sponsored by Ace Hardware
I get asked often about how I keep my grills clean given how frequently I use them. We cook at least 5 nights a week on my Traegers– and often more than that. And some days, we have multiple grills rolling smoke, cooking a variety of things for one meal. While cooking on a Traeger keeps our kitchen fairly clean and tidy, cooking with real wood pellets causes a bit of ash build up in the grill, and the inherent act of cooking causes drips, spills, splatters and grease.
Even if I didn’t use my grills daily, I’d want to keep them clean and in good working order. You’re more likely to use something that you maintain, and the results of your cooking will that much better.
So here are some tips and tricks I have to keep my various Traeger grills clean and in good working order. I pick them all up at my local Ace Hardware, where I also get my pellets and grills, making for convenient one-stop shopping.
Tools & Supplies
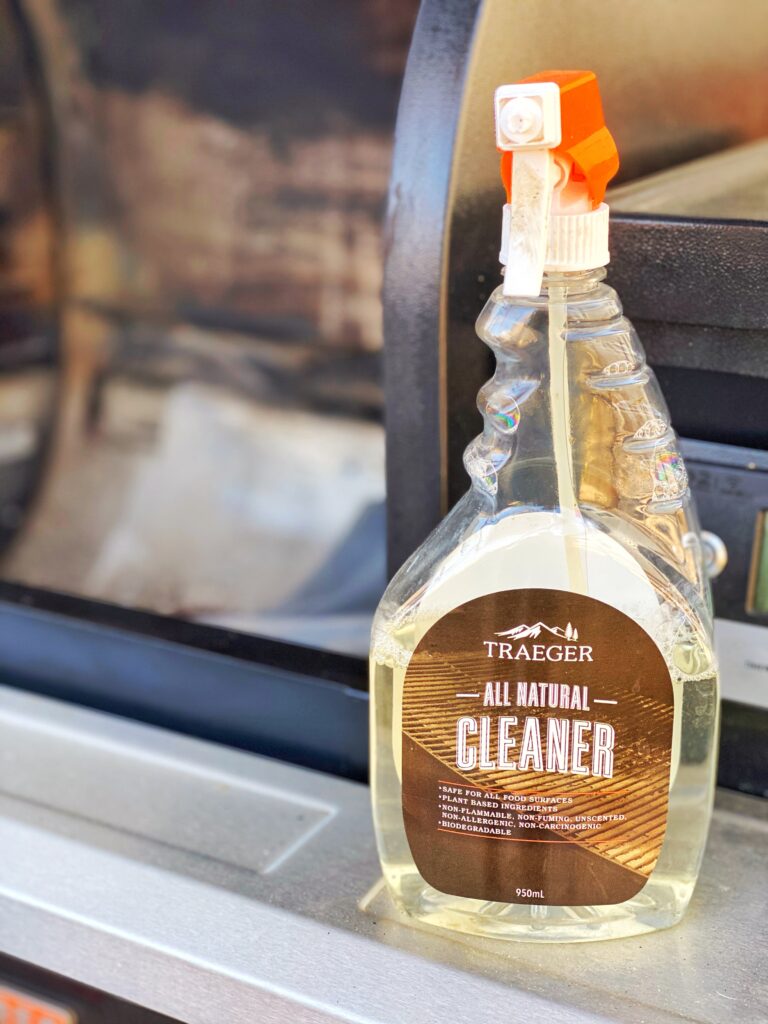
- Traeger Grill Cleaner (https://www.acehardware.com/departments/home-and-decor/cleaning-and-disinfectants/cooktop-and-oven-cleaners/8687048)
- Paper towels
- A metal putty knife (https://www.acehardware.com/departments/paint-and-supplies/patch-and-repair/putty-knives/1498930)
- Grill brush with a stainless steel scrubber (rather than metal bristles)
- A small wet/dry vacuum (https://www.acehardware.com/departments/tools/wet-dry-vacuums/wetdry-vacuums/2305696)
- Traeger drip tray and bucket liners (https://www.acehardware.com/departments/outdoor-living/grills-and-smokers/grill-parts/8680159) & (https://www.acehardware.com/departments/outdoor-living/grills-and-smokers/grill-parts/8680506)
- Aluminum foil
- Bamboo skewer or toothpicks
- Phillips-head screwdriver (optional)
Process
After every cook, I spray the inside of the grill withTraeger Grill Cleaner and wipe down the sides of the barrel and the lid. This helps prevent a lot of build-up in the barrel (of grease, cooking residue and/or dust).
Scrape the grates with a stainless steel scrubber grill brush, which knocks off any leftover bits from the cook. I try to avoid using grill brushes with metal bristles, as I prefer the cleaning power of the scrubber.
Then I spray the outside of the grill with Traeger Grill Cleaner and wipe down the lid, control panel, front shelf and handles before covering the grill each night. If it’s snowing or raining while I’m cooking, I also always am sure to wipe the grill dry before I cover it.
If I’ve done a big cook that caused the drip tray liner to get really dirty, I swap it out with a new liner. I’ve found that dirty liners cause extra, unflavorful smoke, so I always switch out the liners when they get dirty. Additionally, I like to put a layer of aluminum foil under the liner to make cleanup even easier.
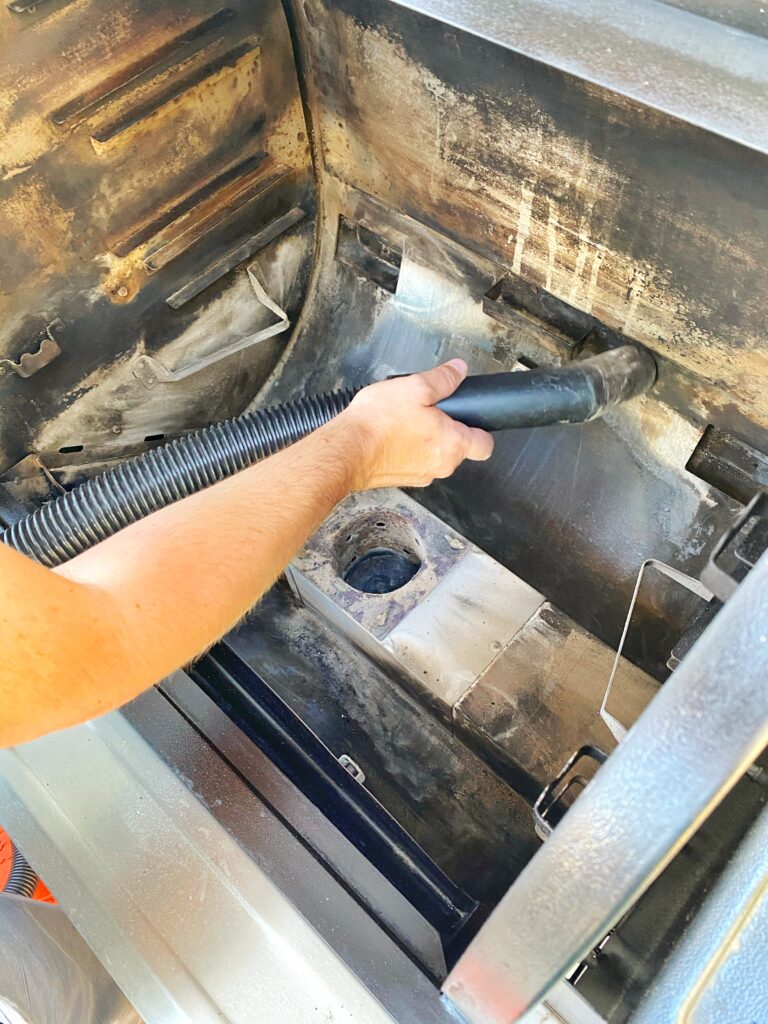
Every few weeks, and especially before a long cook like a brisket or pork shoulder, I do a deeper clean of my grill. In addition to my usual maintenance cleaning, I get the inside of the barrel as clean as I possibly can. I remove the grates, spray them with oven cleaner and a hose and try to return them to shiny stainless steel. Remove the drip pan, the heat baffle and the cover over the fire box along with any other moveable pieces in the barrel. You can even use a screwdriver and remove the lowest baffle around the firebox, so that I can get every last drop of ash from the bottom.
Use a wet/dry vacuum and clean out all the residual ash that has accumulated on the bottom of the grill. I get in all the nooks and crannies (using a bamboo skewer to dislodge tight spaces, if necessary), and use a flat putty knife to scrape off build up on the inside of the barrel. Always vacuum out the fire box, including any remaining pellet pieces. If your grill has a chimney make sure to clean in there and remove some of that buildup.
Then I carefully put everything back together in order. I replace the aluminum drip tray liner inside the grill and switch out the drip bucket liners as well. My dogs have a tendency to want to help keep the drip buckets clean, so I change those pretty frequently. Sometimes I also empty the pellet hopper on my grill, and vacuum the bottom out to catch any pellet dust.
Keeping your grill clean will help it run smoothly, remain safe, and keep your food nice and flavorful. A grill that is well-maintained will hold temperatures more evenly, cook more cleanly and impress your family and friends.
Of course, after you get it all nice and shiny, now is a perfect opportunity to do a long cook like a pork shoulder.
Here are some pointers for my favorite pork shoulder cook, done low and slow:
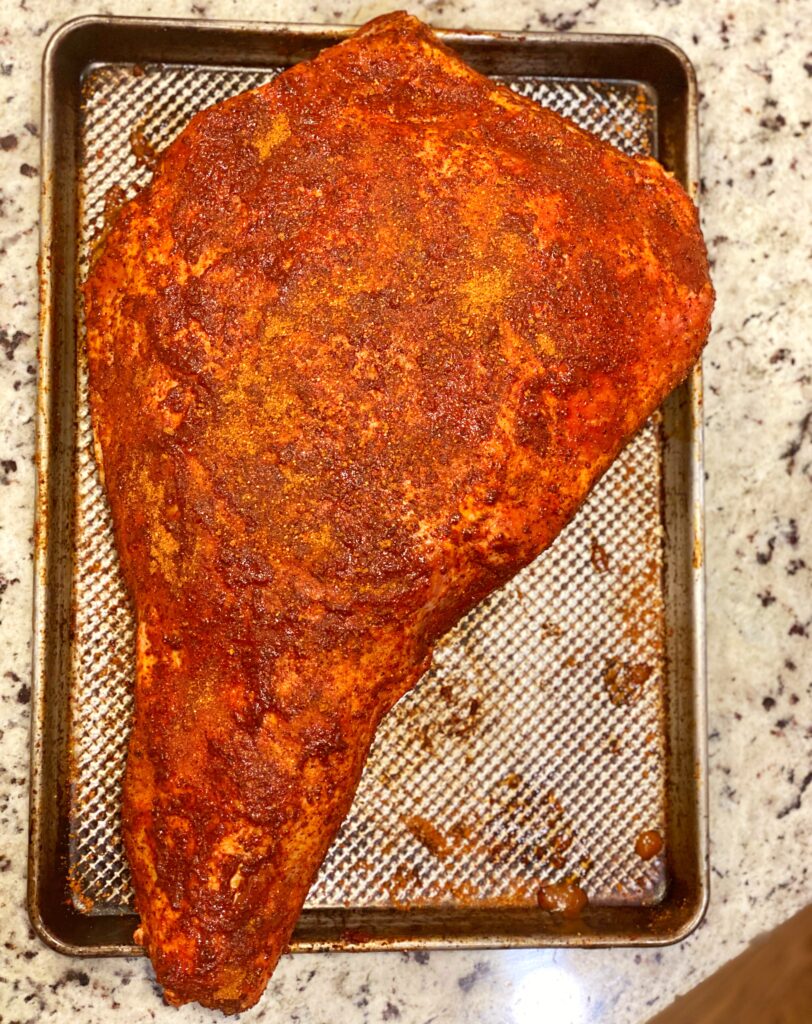
I start with a bone in-pork shoulder, also called a pork butt or a Boston Butt. If you get a boneless pork shoulder, the same cook strategy applies but the timing will be a bit different. I usually choose a bone-in shoulder because the satisfaction of a clean bone-pull is a great party trick.
I do not trim my pork shoulders unless there are large loose pieces or a lot of fat. I have found that most of the fat renders down and helps with creating a great flavor. Sometimes I score the outside of the pork shoulder, which helps with rendering the fat and creating additional surface area for flavor.
I start by applying a layer of hot sauce as a binder all over the pork shoulder. This will help the rub stick and helps tenderize the meat. I also like the awesome bark it creates in the final product. You will not notice a hot sauce taste throughout the meat except a bit in that outer layer.
I season it generously with my favorite pork rub. I let the meat sit for about 20 minutes to allow it to start to sweat while I preheat my grill.
I then place on my Traeger at 225° and cook, fat side up until the meat reaches between 160° and 170°. I am looking for a nice bark to have formed before wrapping it. Depending on the size of the shoulder, this could be 6-8 hours.
I then wrap it in butcher paper. I like butcher paper because it is porous and helps keep that nice bark you created. Wrapping in foil also works great, but retains a bit more moisture in the cook, which can soften the bark.
During the wrap, you can also add butter, raw sugar and some agave to pack in more flavor into the cook.

I then place the wrapped shoulder in a foil pan to help catch the juices. Back onto the smoker at 275° until it reads an internal temperature between 195 and 200°. You are looking for it to be probe tender, which means you can slide a thermometer probe in the meat and feel little resistance. This can be anywhere from another 2-4 hours. Remember BBQ is about cooking to temperature– the meat will let you know when it is ready.
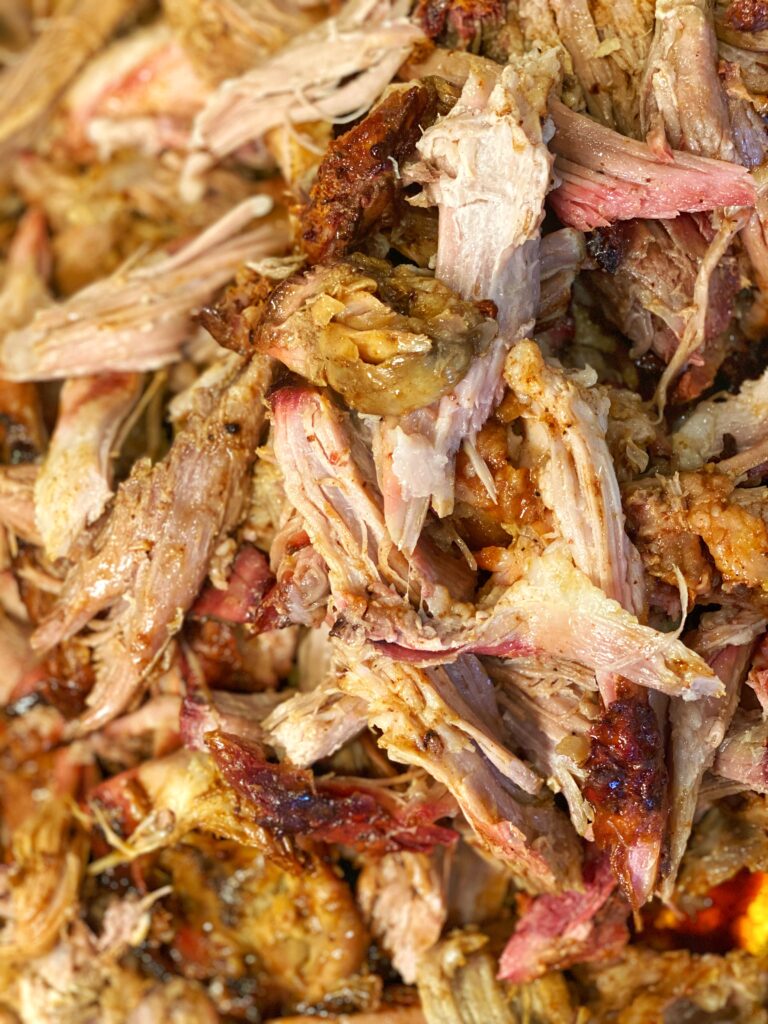
Then place the entire thing (pan and all) into a cooler wrapped with a few towels for at least an hour. This will help that moisture redistribute back into the meat before you shred it to serve.
After resting it is time to shred the pork and get to eating.
With the leftovers you may end up with, I recommend storing smaller portions (a few serving sizes at a time) in vac seal bags. Then, when you want to use them, submerge the bag (it can even be frozen) in a pan of boiling water for about 10 minutes on the stove.. Your leftover pork will be amazing.